Hat tip to John Gregory, the “Mayor of Carderock,” for showing us what not to do through photos on his DumbAnchors blog.
My new life goal is to not get featured on this blog.
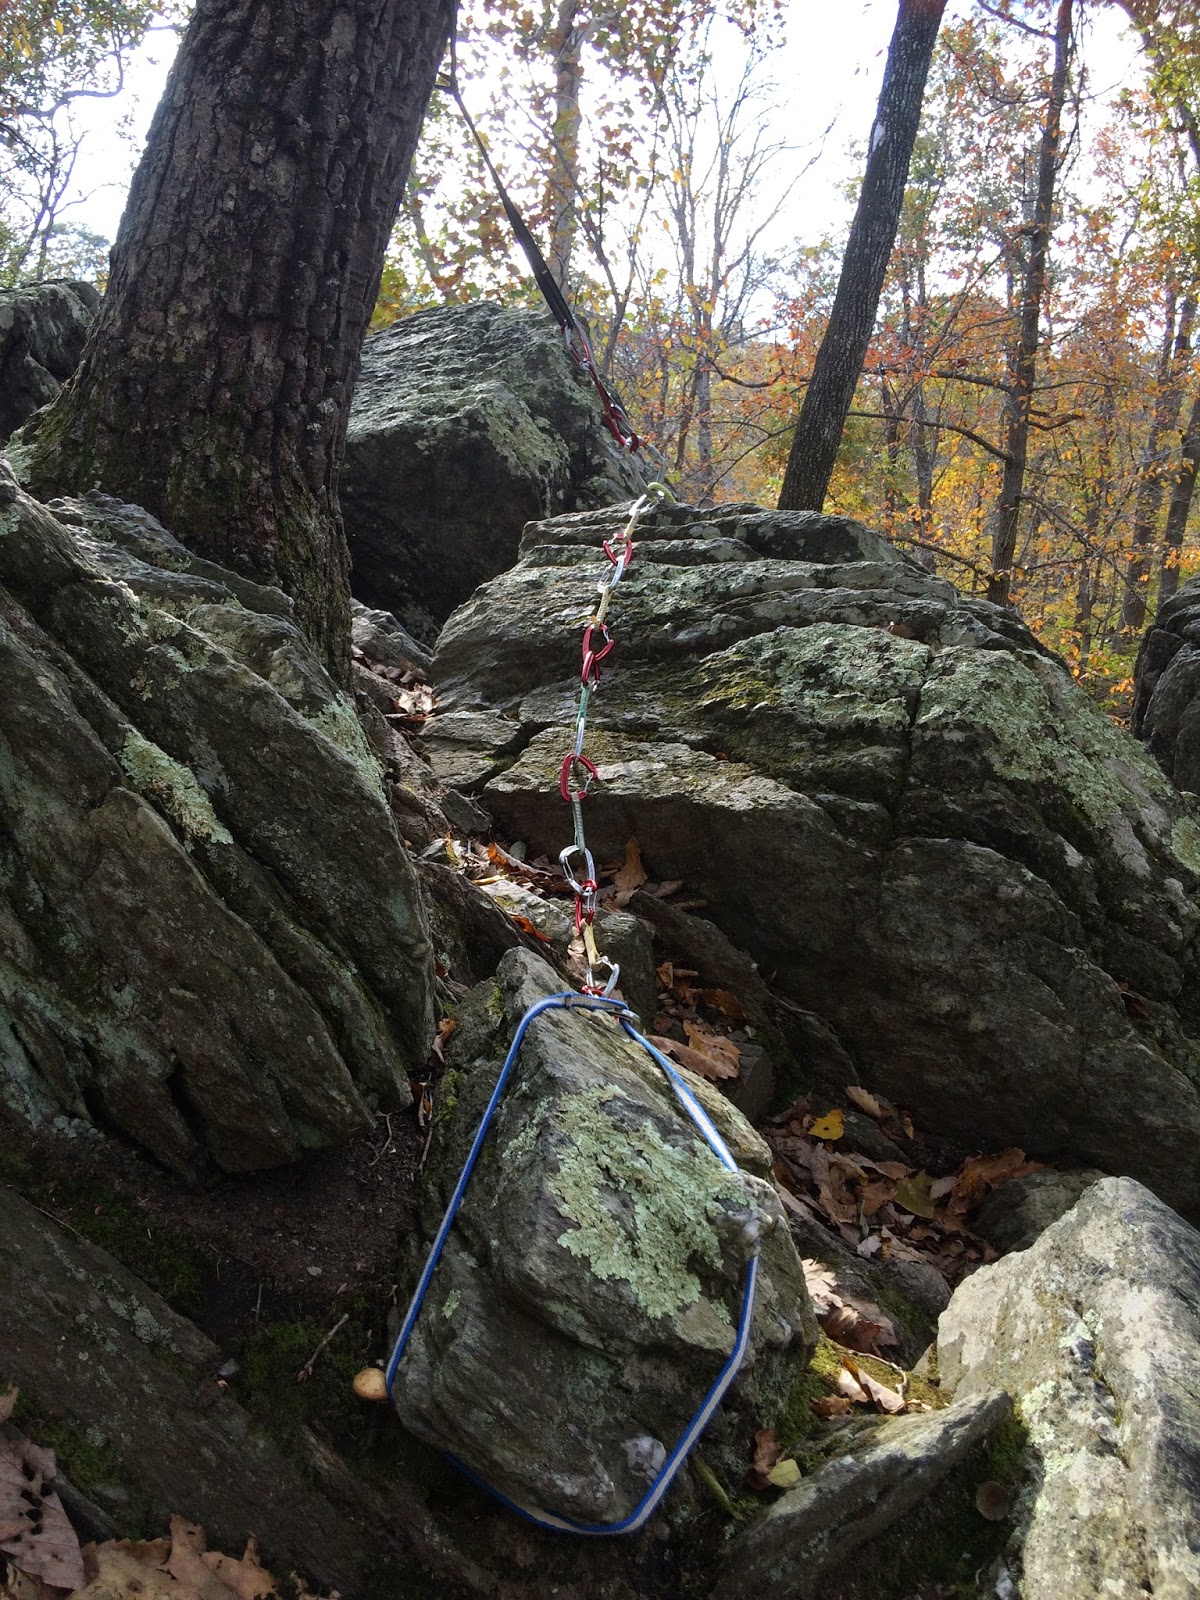
People who climb at Carderock and Great Falls know that the locals expect that top ropes will be set using static rope tied with bowline hitches to two natural anchors. These can be either trees or preferably, boulders, to reduce wear on the remaining trees. This is a variant of the classic “Joshua tree” setup and is optimal in both safety and materials efficiency.
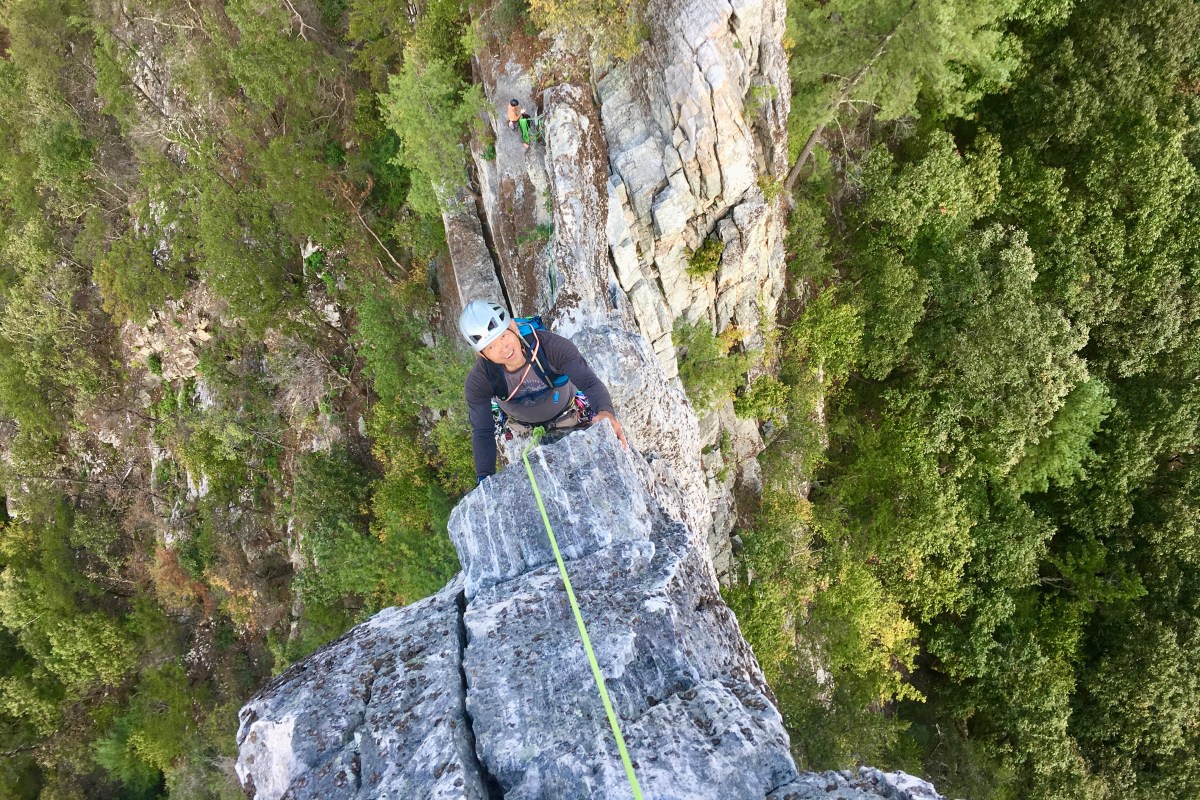
Richard Lin on Gunsight to South Peak Direct (5.5)at Seneca Rocks, West Virginia
Critical Gear
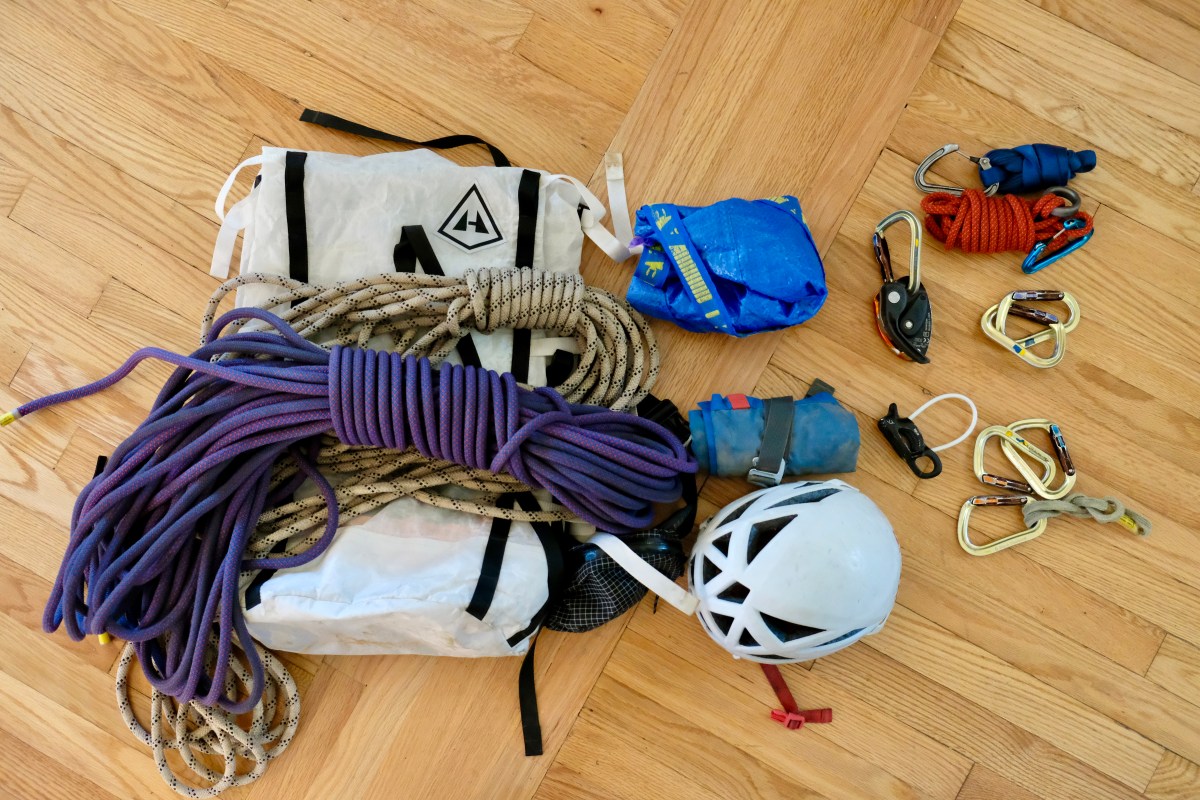
If we’re climbing together, I have two follower’s kits with these six items. You can use one of my kits, or use your own gear.
Petzl GriGri and locking carabiner. The GriGri is the gold standard for assisted braking belay devices and is useful for rescues.
Four additional locking carabiners. Recommended: Any lightweight offset-D type carabiner (the most common kind). See current reviews on locking carabiners.
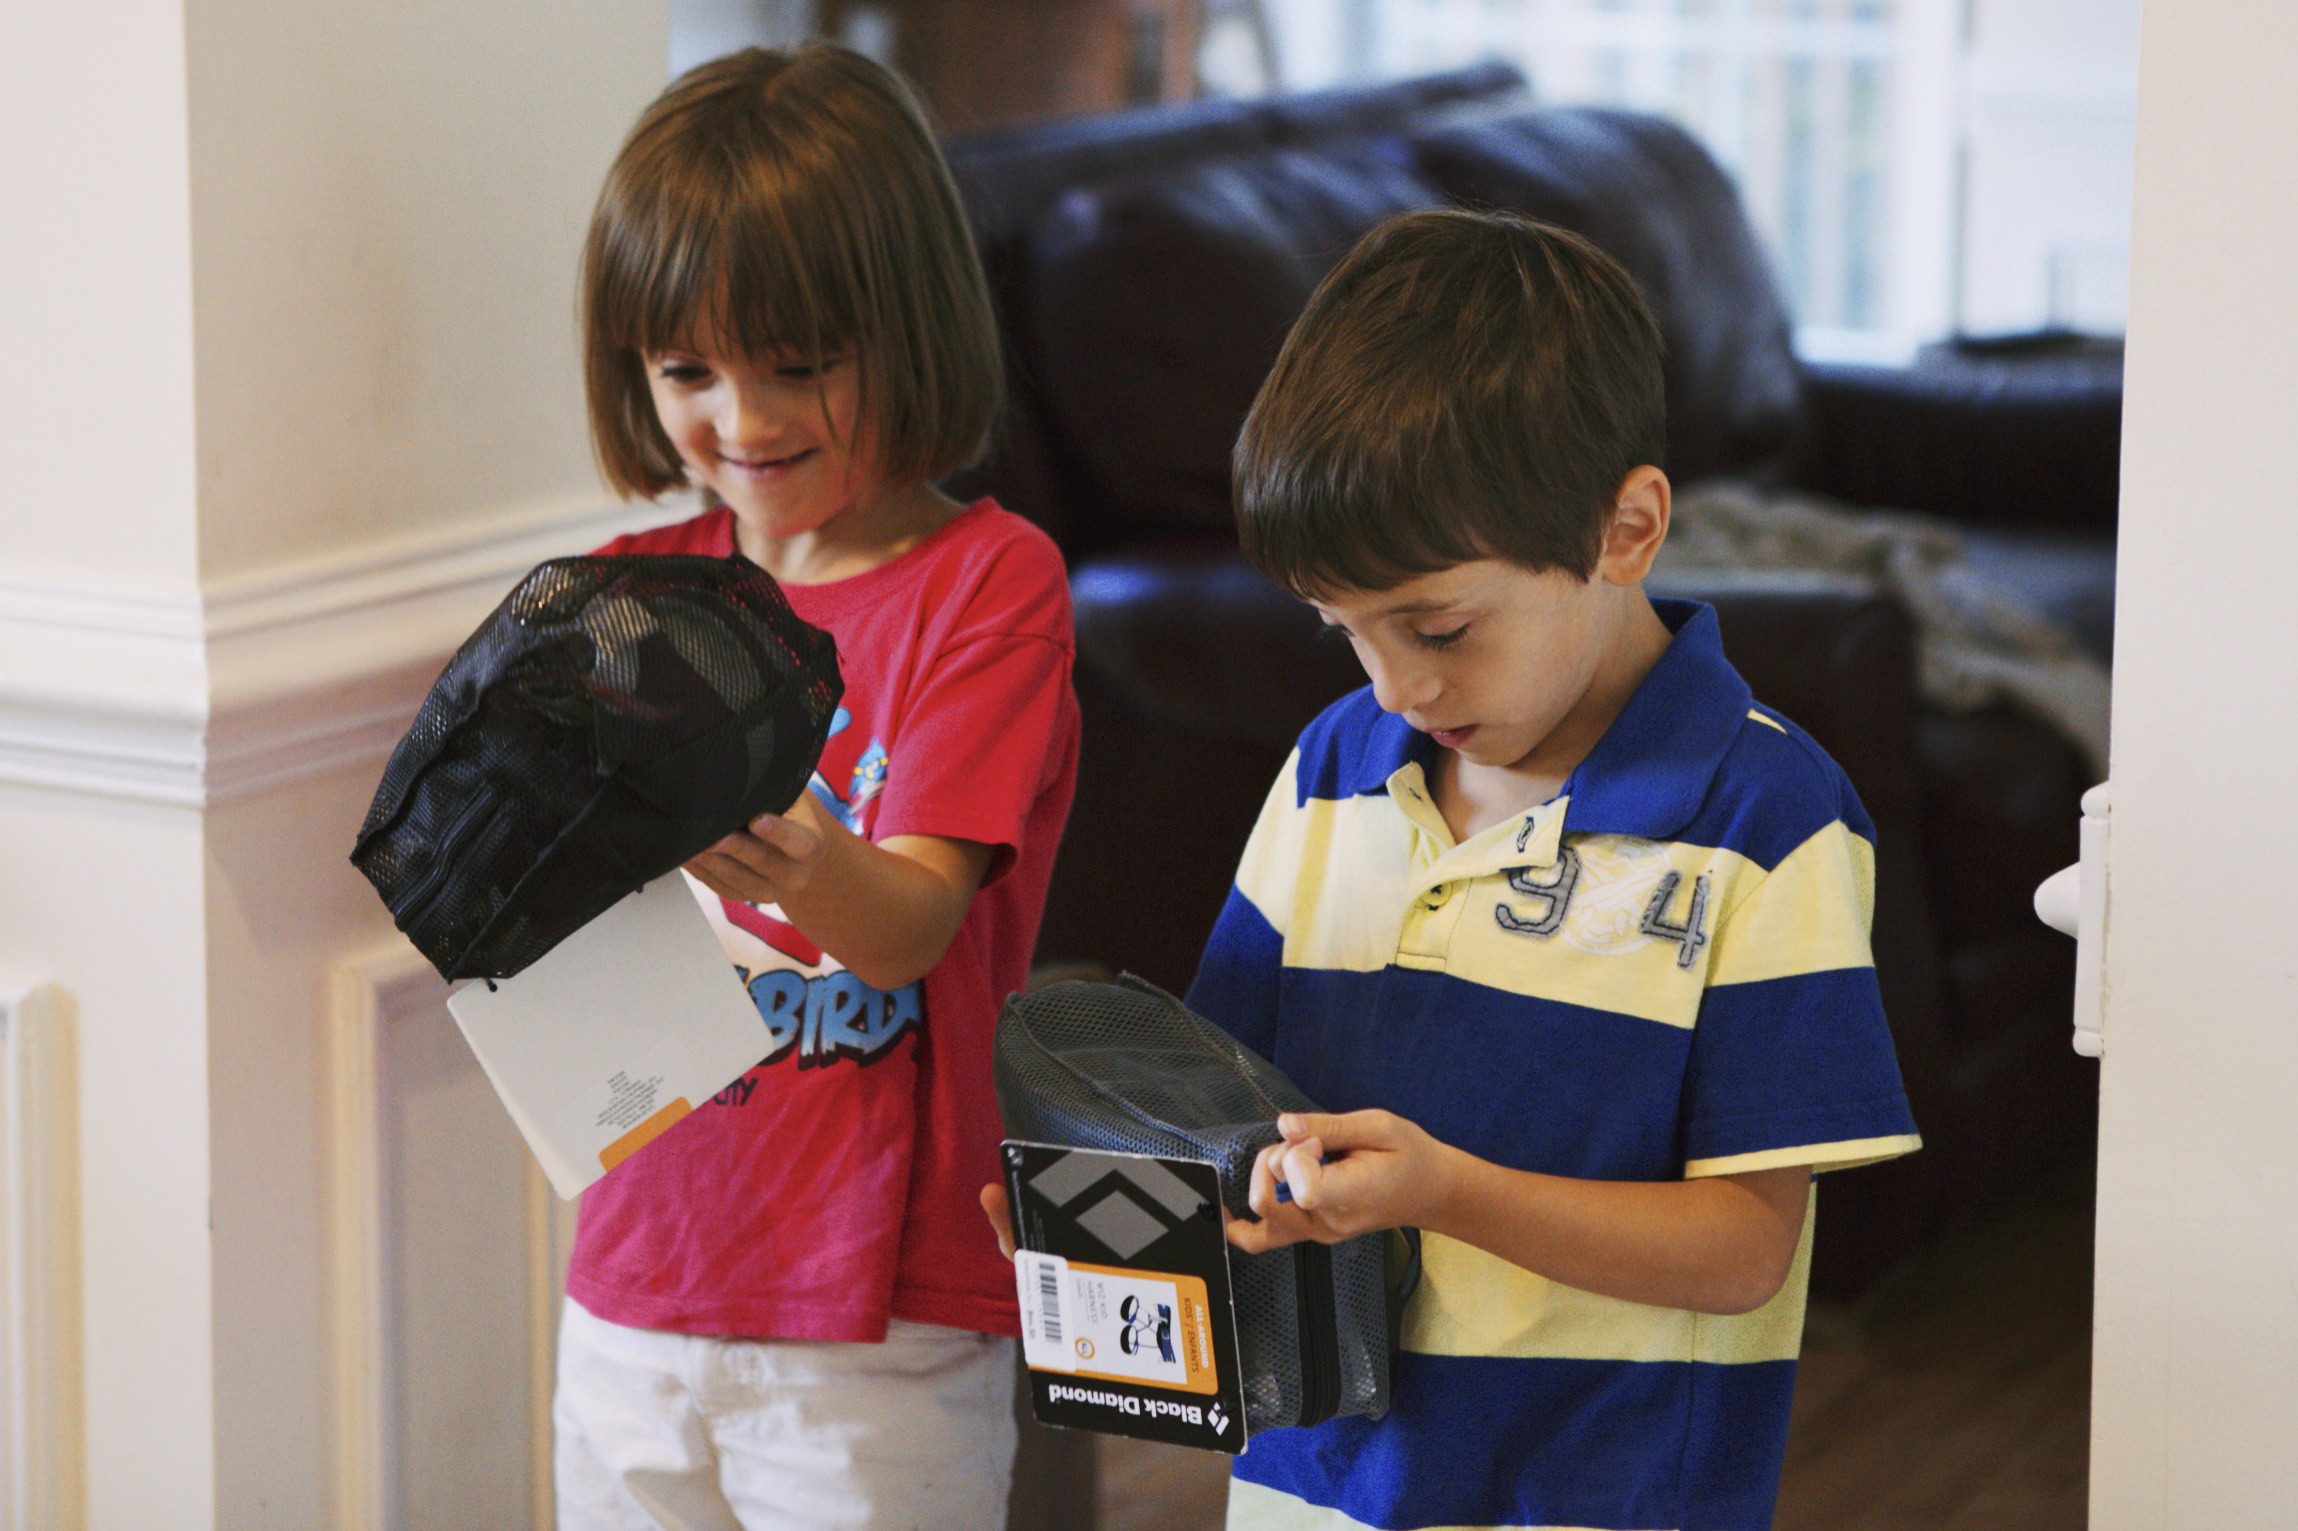
ATC (tube type) belay device: For rappelling. Recommended: Black Diamond ATC-Guide, which can be used for rescue and other purposes.
Full-length (120 cm) nylon runneror a personal anchor system (PAS). Any brand of nylon runner in 120 cm will work well. Recommended, if you climb frequently: Petzl Connect Adjust lanyard. Its easy adjustability helps on rappel ledges.
Prusik loop.Used to create an autoblock for rappels. Recommended: Sterling 13.5” HollowBlock2.It’s grippy and easy to use.
Nut tool. Used for retrieving nuts and walked cams. Recommended: Wild Country nut tool.
Required Gear
You’ll need to bring. If we’re climbing together, I may have extras for some of these.
Harness: Any new, all-purpose climbing harness with gear loops. I have no recommendation.Most modern harnesses are about the same, and not much separates the most expensive harness from the cheapest. See current reviews for women’s harnesses and men’s harnesses.
Climbing helmet. Helmets protect against falling rock and dropped gear from climbers above, and can sometimes help with leader falls. Recommended: Any climbing helmet. More expensive helmets are lighter and have better venting. See current reviews on climbing helmets.
All-day climbing shoes: Comfortable, flat-soled, “trad” climbing shoes, that you can wear all day. You will generally not be able to take off your shoes while doing multipitch. Most climbing shoes sold today are “aggressive” and marketed for indoor gym climbers. They are too uncomfortable to wear all day. Recommended: La Sportiva Mythos ($$), La Sportiva Tarantulace ($), or Scarpa Helix ($). La Sportiva shoes run narrow, so if you’re a woman with wide feet, try the men’s version. If you’re a man with wide feet, check out the Scarpa Helix.
Small (12-18 liter) backpack. While any small pack will work, climbing packs include a helpful clip on top for securing the rope. Recommended: REI Flash 18 ($). This ultra-lightweight backpack comes in handy for so many things, not just climbing.
⚠️ Headlamp. This may seem optional, but it’s critical. Especially in the fall, the sun drops down the horizon suddenly and the last part of a descent is often (usually!) done in pitch black. As a side note, whenever I’m outdoors, I always bring a headlamp for emergencies, and I use my headlamp all the time. Recommended: Petzl Actik Core ($$). This headlamp is all-around amazing. The Petzl headlamps are easy to operate; the Black Diamond headlamps require an engineering degree just to turn them on. The Core is a removable, rechargeable battery. You want rechargeable, so that you can top off your battery before every trip. And you can buy a second Core battery as a backup.
2-3 liters of water. It’s often sweltering at Seneca.You’ll go through a lot of water. You can use a hydration bladder or a water bottle. Each has its pros and cons. If you bring a water bottle, you will only be able to drink when we are sitting on a good-sized ledge. See current reviews of hydration bladders. More recently, I have been using a 36-oz insulated Yeti bottle, which keeps my water ice-cold. But, it is heavy.
Other Recommended Gear
You’ll survive without these, but they’ll make your experience better.
Light tech shell, light rain jacket, or poncho. West Virginia is subtropical rain forest. Yes, really. The world record for the fastest one-minute rainfall is held in nearby Unionville, Maryland: 1.23 inches of rain in one minute, causing a building to collapse. It often rains more than once a day throughout the summer at Seneca. The best way to deal with rain there is by just ignoring it or by taking a short break. Fall weather is drier, making it prime climbing season.
Approach shoes. These are hiking shoes/boots lined with sticky climbing rubber for scrambling. They are safer and work better than sneakers. Recommended: I use La Sportiva TX4. See current reviews of women’s approach shoes and men’s approach shoes.La Sportiva shoes run narrow, so if you’re a woman with wider feet, try the men’s version.
Swimsuit, towel, and change of clothes. There’s a great swimming hole an eighth of a mile down the river. It’s one of West Virginia’s most beautiful spots.
When I started climbing outdoors, I’d just finished Earth Treks’ Top Rope Systems I course. I was excited and wanted to start climbing outdoors right away. I didn’t know what to buy, so I just put together what I thought made sense.
Now I know. This is stuff I wish I’d known when I started out.
This list is mostly specific to Carderock, Maryland and Great Falls, Virginia, where locals expect you to set your top-rope anchors specifically using burly static line tied in bowline hitches around trees and large boulders. (You’ll get heckled if you do it any other way).
1. Rope
REI has a nice article about the different kinds of climbing rope.
I started with an all-around single climbing rope. These ropes are good for any kind of climbing, but they stretch a lot – sometimes too much for top-roping.
I really like semi-static ropes for top-roping. They stretch just enough to soften a top-rope fall. They’re usually marketed as gym ropes for top-roping.
If I wanted one rope that does everything, I’d get an all-around climbing rope. But I top-rope often enough that I also bought a burly, semi-static rope. I have the Sterling ReVo in 40 meters, which is a great length for Carderock and Great Falls.
Any burly (10+ mm) static rope will do. I use 120 feet (40 meters) of static rope for Carderock/Great Falls.
REI sells static rope by the foot.
Don’t buy rope at the hardware store! It is not designed for mountaineering and is much weaker than UIAA-rated static rope.
3. Three or Four More Locking Carabiners
I needed 2 carabiners for my climbing rope to slide through my top-rope anchor, and another carabiner to secure myself with a prussik while setting the top anchors. I loved the Black Diamond Magnetron Vaporlocks, but they are now out of production.
Any 6-7 mm cordelette tied into a loop will work, but I really love the pre-sewn Sterling hollow block loops. They just work better and are smoother to use than cordelette.
5. A Belay Device with Assisted Braking
It’s a little harder to stop falls outdoors than it is in the gym. You’ll be using a skinnier and probably a dry-coated rope that will want to slide through your ATC. Also, at Movement and other gyms, the rope usually wraps around the pulley at the top anchor twice, creating extra drag. You won’t have that outdoors.
You will want a belay device with teeth or assisted braking. The Petzl GriGri is the current gold standard for assisted braking devices. In a top-rope situation, it’s almost foolproof. It automatically locks when the climber falls.
6. A Big Backpack To Carry Everything
You will be carrying all of this, plus your shoes, your harness, at least a liter of water, and your lunch. Most people prefer to carry ropes inside of their bag rather than on top of it, if they can (but if their bag gets full, they secure the ropes on top). This is a lot of gear, and a 15 or 20 liter backpack is not going to work. You will want a 30-40 liter crag pack.
A crag pack is different from a regular hiking backpack in that it is designed to be worn while climbing. Most crags involve some scrambling to access them. Crag packs are narrower than hiking backpacks and usually open only at the top. They usually have a strap on top for securing the rope.
You probably want a helmet. People don’t use helmets at Great Falls and Carderock because there’s not much loose rock that could fall on climbers below, but if you move out to other crags, a helmet is a must.
I think you’d really like approach shoes, if you are willing to spend the money.These are sneakers or hiking boots with rock climbing rubber soles, so they make it easy to scramble around the crag without worrying so much about slipping. People say you can climb 5.9 in them. I’m not that awesome but you can definitely climb 5.easy.
You might want a rope tarp to keep your rope a little cleaner. Another good option is just one of those IKEA blue bags, which can be bought from Amazon. I think this is cheaper and more useful than a dedicated rope bag.
8. What Not to Buy
Slings, runners, and tubular webbing come in handy for other things, but you generally don’t need them for Carderock or Great Falls. Tubular webbing is not as strong or abrasion-resistant as static rope.
Trad protection devices like cams/SCLDs are occasionally helpful for setting up a redirect. The Aid Box area at Great Falls is also most easily set up using cams/SCLDs.
You don’t need a rope bag, as I mentioned. A tarp, or a blue IKEA bag, is cheaper and packs down smaller.
Summary: Gear Checklist
Harness
At least three locking carabiners
Belay device Recommended: Petzl GriGri
Climbing Shoes. Flat-soled shoes are the most comfortable. Recommended: La Sportiva Mythos, La Sportiva Tartantulance, or Scarpa Helix.
40 meter climbing rope. See above.
40 meters (120 feet) of burly (10+ mm) static rope.
Large crag backpack (30-45 liters).
Water bottle.
Climbing helmet. (optional at Carderock and Great Falls).
This is based on my experience and what I learned from climbing friends and the community.
I’d been fascinated with climbing for a long time. In college, I took a rock climbing class with my best friend. We were determined to get into the sport, but we were too broke to buy gear and we didn’t have a car. Before we knew it, college days were over and we were focused on starting our careers.
Fast-forward to having just turned 40. My body had been converting itself into fat. I wasn’t overweight, but I no longer felt fit. My lifelong passion, skiing and snowboarding, didn’t keep me physically active year-round, and in Maryland the season was getting a little shorter every year because of obvious global warming. My then-wife and I talked about rebalancing our lives, like we rebalanced our spending every year. We decided to put more time into taking care of ourselves and less time into working overtime, which had been our habit for many years.
In retrospect, this was the beginning of a long push for a better work-life balance.
I took the kids to the local rock climbing gym, Earth Treks (now Movement) in Rockville, Maryland. At the time, Earth Treks Rockville was the largest climbing gym in the United States. The kids were instantly hooked, and so was I. A few weeks later I convinced my then-wife to try it. Although she resisted at first, she was also hooked. This investment into my physical well-being was one of the best decisions I’ve ever made.
Soon, we started buying our own gear. I scoured product reviews on Outside, Amazon, REI, Backcountry, Moosejaw, evo, and later, OutdoorGearLab, after its launch. (Of these, OutdoorGearLab does the best job of reviewing products. They have a consistent methodology, and they don’t get manufacturer kickbacks).
Climbing Harness
Harnessescost about $50. As an aside, in college we learned how to tie old-school harnesses using tubular webbing, called a swami belt. Someday I’ll show up at the gym wearing a swami belt.
I started out with an entry-level all-purpose harness, and when that got old, I replaced it with a high end harness, and barely noticed any difference. I’ve now gone through several harnesses at various price points, and have barely noticed differences between them.
Buy any padded, all-purpose harness that feels comfortable. All-purpose harnesses are great for top-roping and sport climbing, both indoors and outdoors. (There are some specialized harnesses for specific applications, such as ultralight ones for alpine climbing, and larger/heavier harnesses with additional gear loops for multipitch climbing). You can also check OutdoorGearLab’s current reviews for women’s harnesses and men’s harnesses.
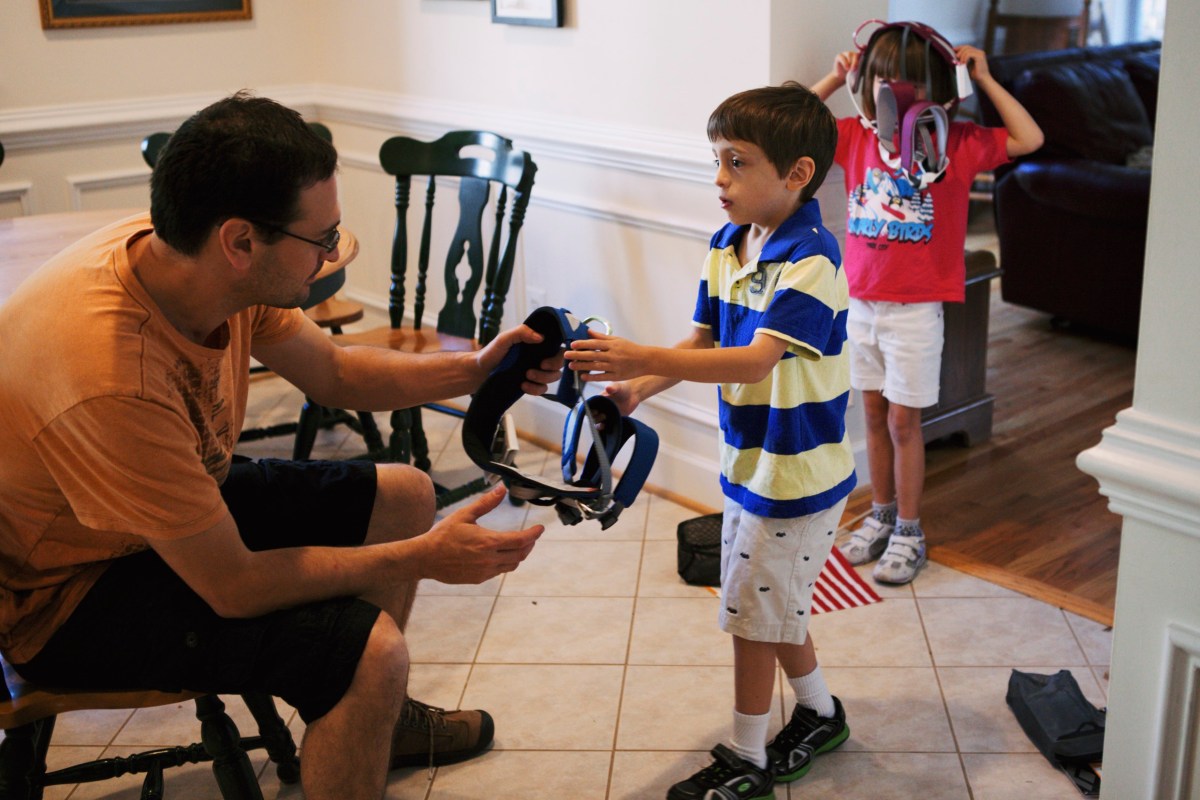
The kids getting their first harnesses. Making them smile like this is priceless. 6 Oct 2012
No matter what, you will need to replace your harness every 4-5 years, since the nylon eventually breaks down. Nylon breaks down faster if you let it get dirty, or if you leave it outside in the sun. Also, don’t store your harness or other climbing gear anywhere near a car battery, gasoline, paint thinner, other solvents, acids, or bleach, since the vapors from any of these will weaken nylon. There have been rare reports of harnesses disintegrating under body-weight load after being unknowingly exposed to a strong acid, probably sulfuric acid from a nearby car battery.
Climbing Shoes
I recommend getting comfortable shoes. This means an unlined leather “trad” shoe with flat soles. I’ve messed around with shoes, and the pain of aggressive shoes isn’t worth it. Aggressive shoes can hurt so much that they can turn people off from the sport, especially kids. I see climbers sending 5.12 in comfortable, non-aggressive shoes.
A bit of an overview: shoes come in three materials: old-fashioned unlined leather, synthetic, and lined leather. Old-fashioned unlined leather shoes are the most comfortable, break in well, and breathe well. Synthetic shoes don’t stretch at all so they are easy to fit at the store, but quickly develop an ungodly stench. Lined leather shoes are somewhere in the middle.
Shoes also come in two shapes, called ‘trad’ and ‘aggressive’. Trad shoes, named because they are popular for trad climbing, are flat-footed and more comfortable. Outdoor trad climbers need to keep their shoes on for long periods of time. Aggressive shoes have a pointy toe, downturned and asymmetrical sole, and narrow fit. They are usually uncomfortable and are used for competitive climbing.
La Sportiva Mythos are the gold standard for a comfortable trad shoe. Similar options include the Scarpa Helix, La Sportiva Tarantulance, and the discontinued FiveTen Moccasyms. They are all unlined leather and stretch to fit your feet like gloves. And, these shoes are ideal for climbing all-day multipitch routes outdoors.
To size unlined leather shoes like the Mythos, try on a few different sizes. The ideal size should be snug against your toes, but your toes should still be fully extended and they should not be uncomfortable. After you buy them, they’ll stretch and break in a little.
In past decades, there were fewer options for climbing shoes. Climbers would buy Mythos several sizes too small and then go to great lengths to break them in to fit their feet perfectly, like a glove. This sometimes involved soaking the shoes in hot water, and then wearing them around the house to break them in, putting up with the pain. With today’s product lineup, this no longer makes sense. If you want to prioritize performance over comfort then you are better off just buying aggressive shoes. If you’re prioritizing comfort, get the Mythos snug, but not too small.
One last word on the topic of shoe stink. Climbing shoes are notoriously stinky. Climbers usually wear their shoes barefoot and sweat a lot in them. Even leather shoes develop some stink. You could wear thin socks, which helps. We spray our shoes after every session with the enzyme-based Gear Aid Revivex Odor Eliminator (formerly McNett Mirazyme) and that works well. It is sold at REI and by Amazon. Climbing gyms use various sprays, such as Lysol, to keep their rental shoes smelling reasonably fresh.
I hope this helps someone. Climb on!
Summary Gear List
Harness: Any new, all-purpose climbing harness. Recommended: No recommendation. Most modern harnesses are about the same. Not much separates the most expensive harness from the cheapest ones. See current OutdoorGearLab reviews for women’s harnesses and men’s harnesses.
Climbing shoes: I prefer comfortable shoes (flat-soled, “trad” shoes), even for indoor climbing. And they’re great for outdoor climbing! Recommended: La Sportiva Mythos ($$), La Sportiva Tarantulace ($), Scarpa Helix ($), or La Sportiva TC Pro ($$$). La Sportiva shoes run narrow, so if you’re a woman with wider feet, try on the men’s version. If you’re a man with wide feet, check out the Scarpa Helix, which are wider.
[Maybe]Belay device and locking carabiner. Many gyms, such as the Movement and First Ascent chains, now have belay devices permanently attached to their ropes, so you don’t need to bring your own gear. Other gyms still require that you bring your own. Recommended: Any HMS (pear-shaped) locking carabiner is fine. These are large and shaped like a pear. The original no-frills Black Diamond ATC is the best for belaying on burly gym ropes. The Petzl GriGri is the current gold standard for assisted braking belay devices and is almost foolproof for top-roping.
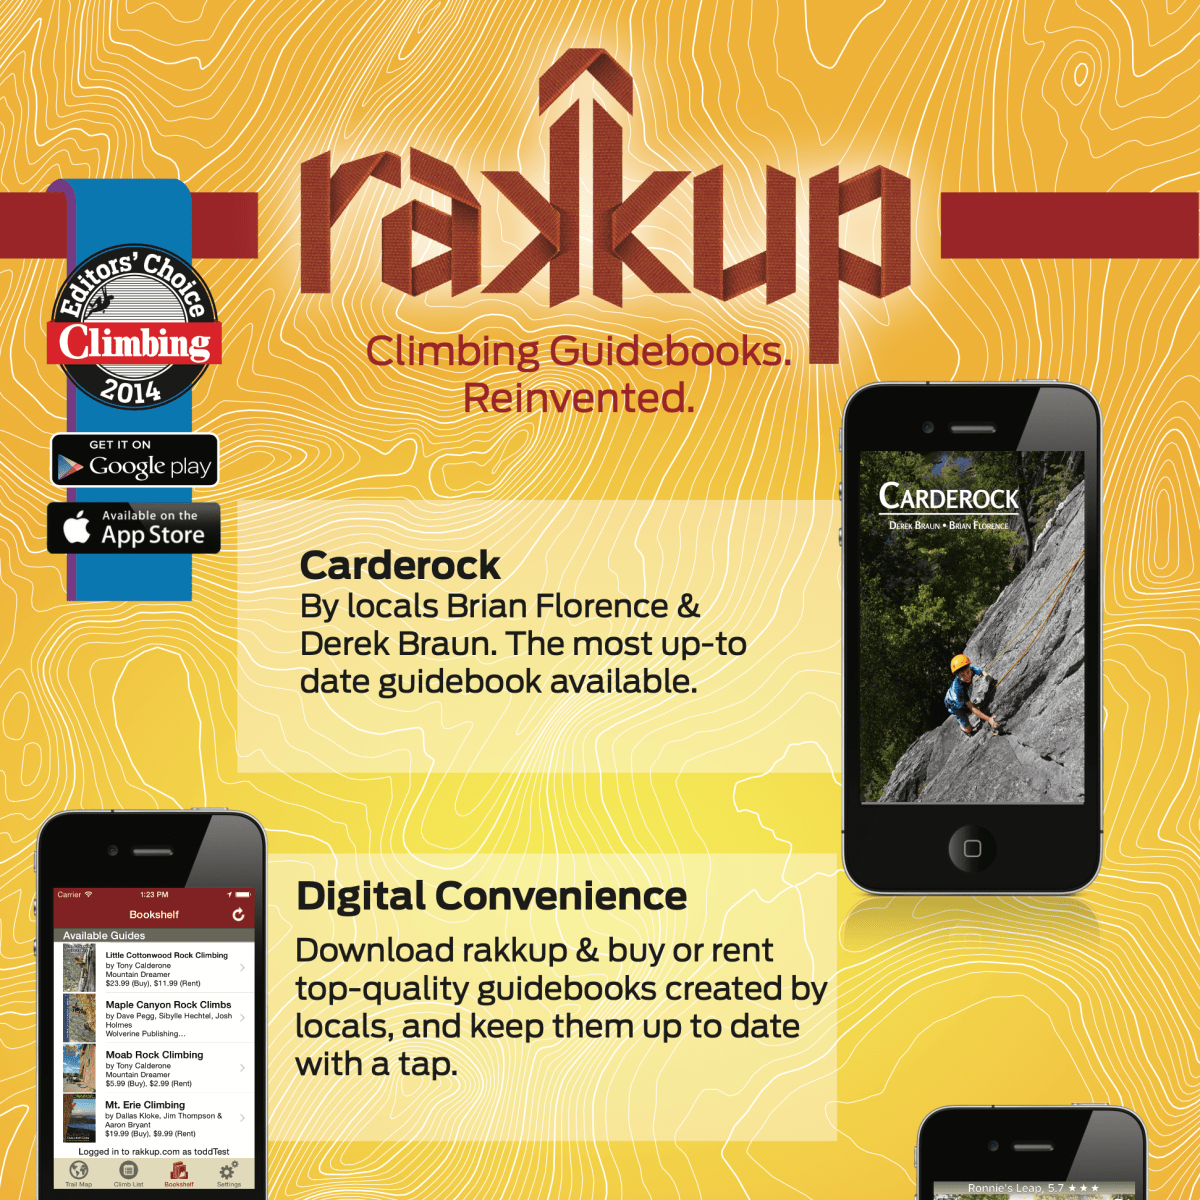
Brian Florence and I wrote a Carderock guidebook on rakkup as a labor of love. The rakkup app works on iPhones and Android. The app is free on the Google and Apple stores. Our guidebook is an in-app purchase.
I think rakkup has the right idea for the future. Nobody wants to throw a heavy guidebook into their crag pack, which is already full of important things. But, everyone keeps their cell phones on their body, no matter what.
And, because the rakkup app uses the phone’s GPS, it navigates to crags in a way that a print guidebook can’t.